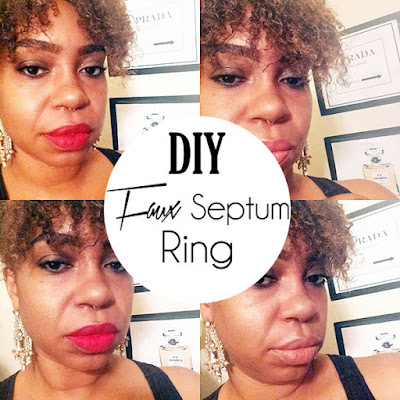
I change looks like a change shoes; Gemini to the core honey. For a while I have been wanting to get a septum piercing. However, I am non-committed to putting a hole in my nose (allergies I see you). Naturally, the next best thing is break out the DIY skills and create a faux septum ring that is perfect my non-committal soul.
After literally weeks of tying to hunt one down in my city
Materials //
Clockwise from top:
- wire
- thread *optional*
- beads *optional*
- wire cutter
- jewelry pliers
*I found the 20 gauge wire the best in thickness. I did not want something too bukly, but I still wanted it to be durable and maintain its shape*
Step 1 //
Cut a piece of wire with your pliers. I suggest cut a piece longer than needed, because mistakes (insert sad face emoji), and too, you will have enough to make multiple faux septums.
Step 2 //
Shape that bad boy and then cut off the access. The piece you now have looks a whole lot more septumish. I like to keep my final piece a little bit bigger as it gives me enough material to manipulate. It is easier to cut off what is not needed, than to do all this work and end up with a piece that is too little or too short (sad face emjoi #2).
Step 3 //
Bend and shape the ends so that your sides are shaped per your nose. I like a more rounded tip on my septum so I will also use my pliers to shape it until I am happy with the final result.
Step 4 //
Cut the access off as you want that tip to be flush with no parts of the end sticking out WHATSOEVER. This little piece of beauty is going inside your nose OKAY. Once cut, repeat steps 3 and 4 and you're all done.
Two different septums, but I love them both. There are a ton of septums you can make, just by adding different beads. I usually wear just the wire one, as I do have a 9 to 5, and though my work environment is lax, I still am not trying to completely push the envelope.
Hope you enjoyed this diy and will try it out for yourself. Let me know if you have made septums or plan to. I would love to see what you dolls create.


0 comments
Want to discuss something specific or want more information about my consultation services please fill out the below.